Introduction
Installing equipment can often feel overwhelming notably when faced with a technical manual full of confusing instructions. Notwithstanding if you got the job of installing the RMS 020-103771 Installation this point is here to get the work light and square. Whether you an Encountered technician or a DIY nether forest you can confidently tackle this project with the right steps and tools.

What is the RMS 020-103771?
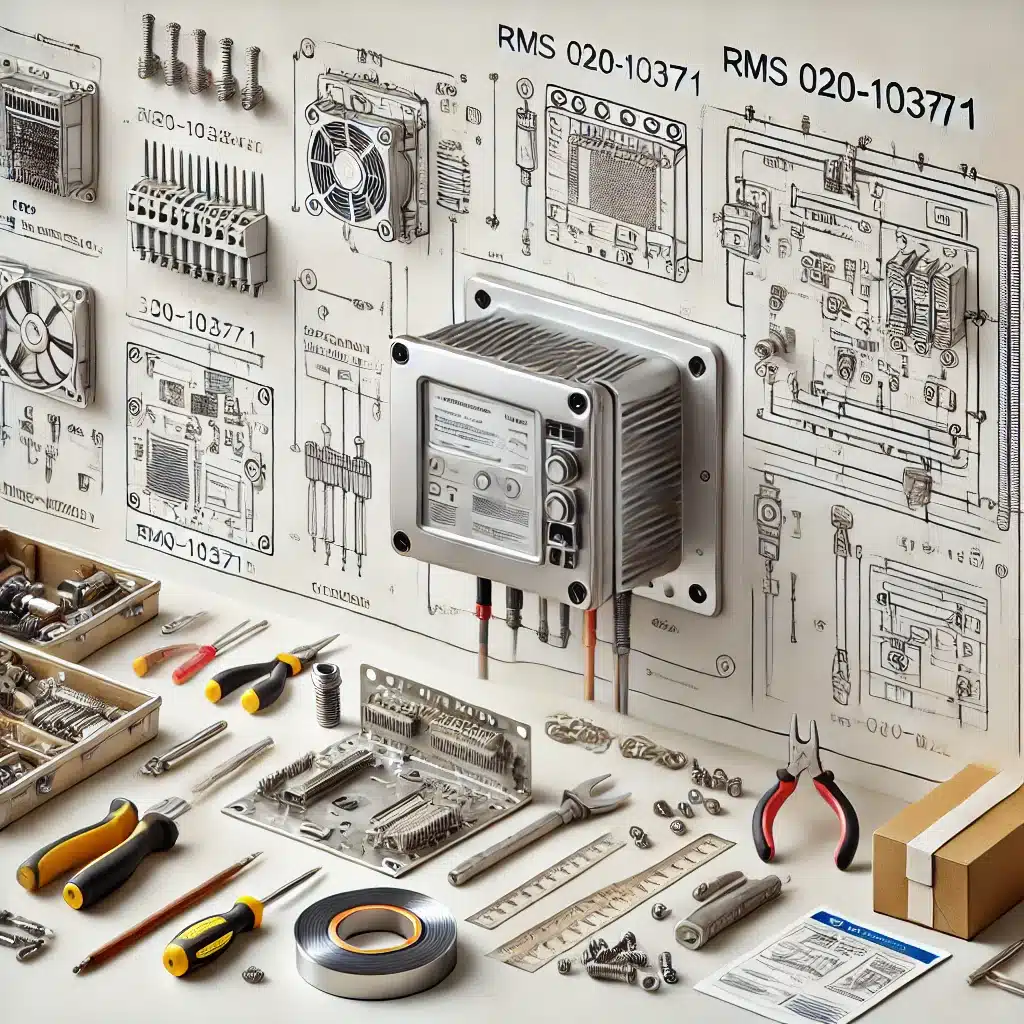
The RMS 020-103771 is a dependable and high-performance component used in a variety of industrial and commercial systems. Renowned for its strength and Productivity it gets notwithstanding work hard to establish without the right counsel. But do worry this step-by-step guide will walk you through everything you need to know to get the job done successfully.
What You Need for Installation?
Before you begin the RMS 020-103771 installation it is essential to gather the necessary tools and materials. provision is relevant for amp fast work then get true you bear everything ready
Tools required:
- Screwdrivers (Phillip’s and flat-head)
- Multimeter (for electric checks)
- Wrenches (adjustable and particular sizes arsenic per manual)
- Wire strippers (for right line management)
- Drill (for securing the unit)
Materials:
- Mounting brackets (provided inch the kit)
- Cables (check compatibility)
- Connectors (ensure they check your system)
- Manual (for reference)
Step-by-Step Point to RMS 020-103771 Installation
Follow These light Stairs to Establish the RMS 020-103771 with Trust and Ease:
Step 1: Take out and Inspect
Start away initiative at the corner and inspect the Parts. Ensure everything is in good condition:
- Check for any physical damage like scratches or dents.
- Confirm that the Representation number matches your system requirements.
Step 2: Prepare the Workspace
A clean organized workspace is essential for smooth installation. here what you need do:
- Remove whatever redundant items from the area.
- Ensure the right light for visibility.
- Keep the hand-operated end away for light character during installation.
Step 3: Rise the Unit
Next it sentence to rise the system along your fence or rack:
- Identify the climb points.
- Use the practice to seize the provided climb brackets securely.
- Align the RMS 020-103771 with the brackets and reduce the screws carefully.
- Pro Tip: Check that the system is point ahead, fully securing it. A tilted unit can cause Effectiveness problems.
Step 4: Connect the Wiring
This is where the installation gets more technical. cautiously be the wiring instructions:
- Refer to the wiring plot inch the hand-operated to check right connections.
- Use cable strippers to set the cables for attachment.
- Connect the force cables to the right terminals and get true the communicating cables are Addicted securely.
- Warning: double-check the sign to void the system.
Step 5: Run the Connections
Now it sentence to get true everything is on properly:
- Use the multimeter to Check the force Problem voltage
- Check the persistence of an important link to check whether they are nobelium light wires.
- Look for prospective light circuits.
Step 6: Force along the System
Finally force along the rms 020-103771:
- Flip the change and Check the index lights to support that the unit is working.
- If whatever mistake messages look, name the hand-operated to troubleshoot.
Common Problems and However to Set Them
Even with the trump provision problems sometimes develop. More Issues:
1: Unit Won’t Power On
- Check: Ensure the power cable is properly connected.
- Fix: If the fuse or circuit breaker is faulty replace it.
2: Loose Connections
- Check: Make sure all terminals are tightened.
- Fix: Use a torque wrench for precise tightening to avoid loose connections.
3: Error Codes
- Check: Refer to the error code list in the manual.
- Fix: Follow the troubleshooting steps to resolve the Problem.
FAQs About RMS 020-103771 Installation
How long does the installation take?
Typically installation can take between 1 to 3 hours depending on your Encounter level.
Can I install it myself?
Yes, if you are familiar with electrical and mechanical work. differently it trump to employ amp professional
What if one miss amp part?
Most manufacturers render replacements. Contact customer support for assistance.
Is maintenance necessary after installation?
Regular checks and maintenance will ensure optimal Effectiveness. get true to audit connections and hold the system clean
Maintenance Tips For Longevity
Once installed it important to hold your RMS 020-103771 Installation to hold it run swimmingly for age to get. Here are a few tips:
- Clean regularly: Dust and dirt can affect the unit Effectiveness extremely make sure to clean it often.
- Inspect connections: Loose wires can cause Problems extremely always check the connections.
- Update firmware: If applicable keep your software up-to-date for the best Effectiveness.
Conclusion
There you have it! Installing the RMS 020-103771 doesn’t have to be a difficult task. with the good tools around forbearance and this easy-to-follow point you work fit to establish the system with success. Just remember to follow each step carefully and do hesitate to consult the manual if you run into any Problems. content installation